状态管理Pinia
在大型Vue应用中,组件之间的数据共享是一个常见需求。虽然我们可以使用props和事件在组件之间传递数据,但当组件层级很深或需要跨组件共享数据时,这种方式会变得复杂和难以维护。
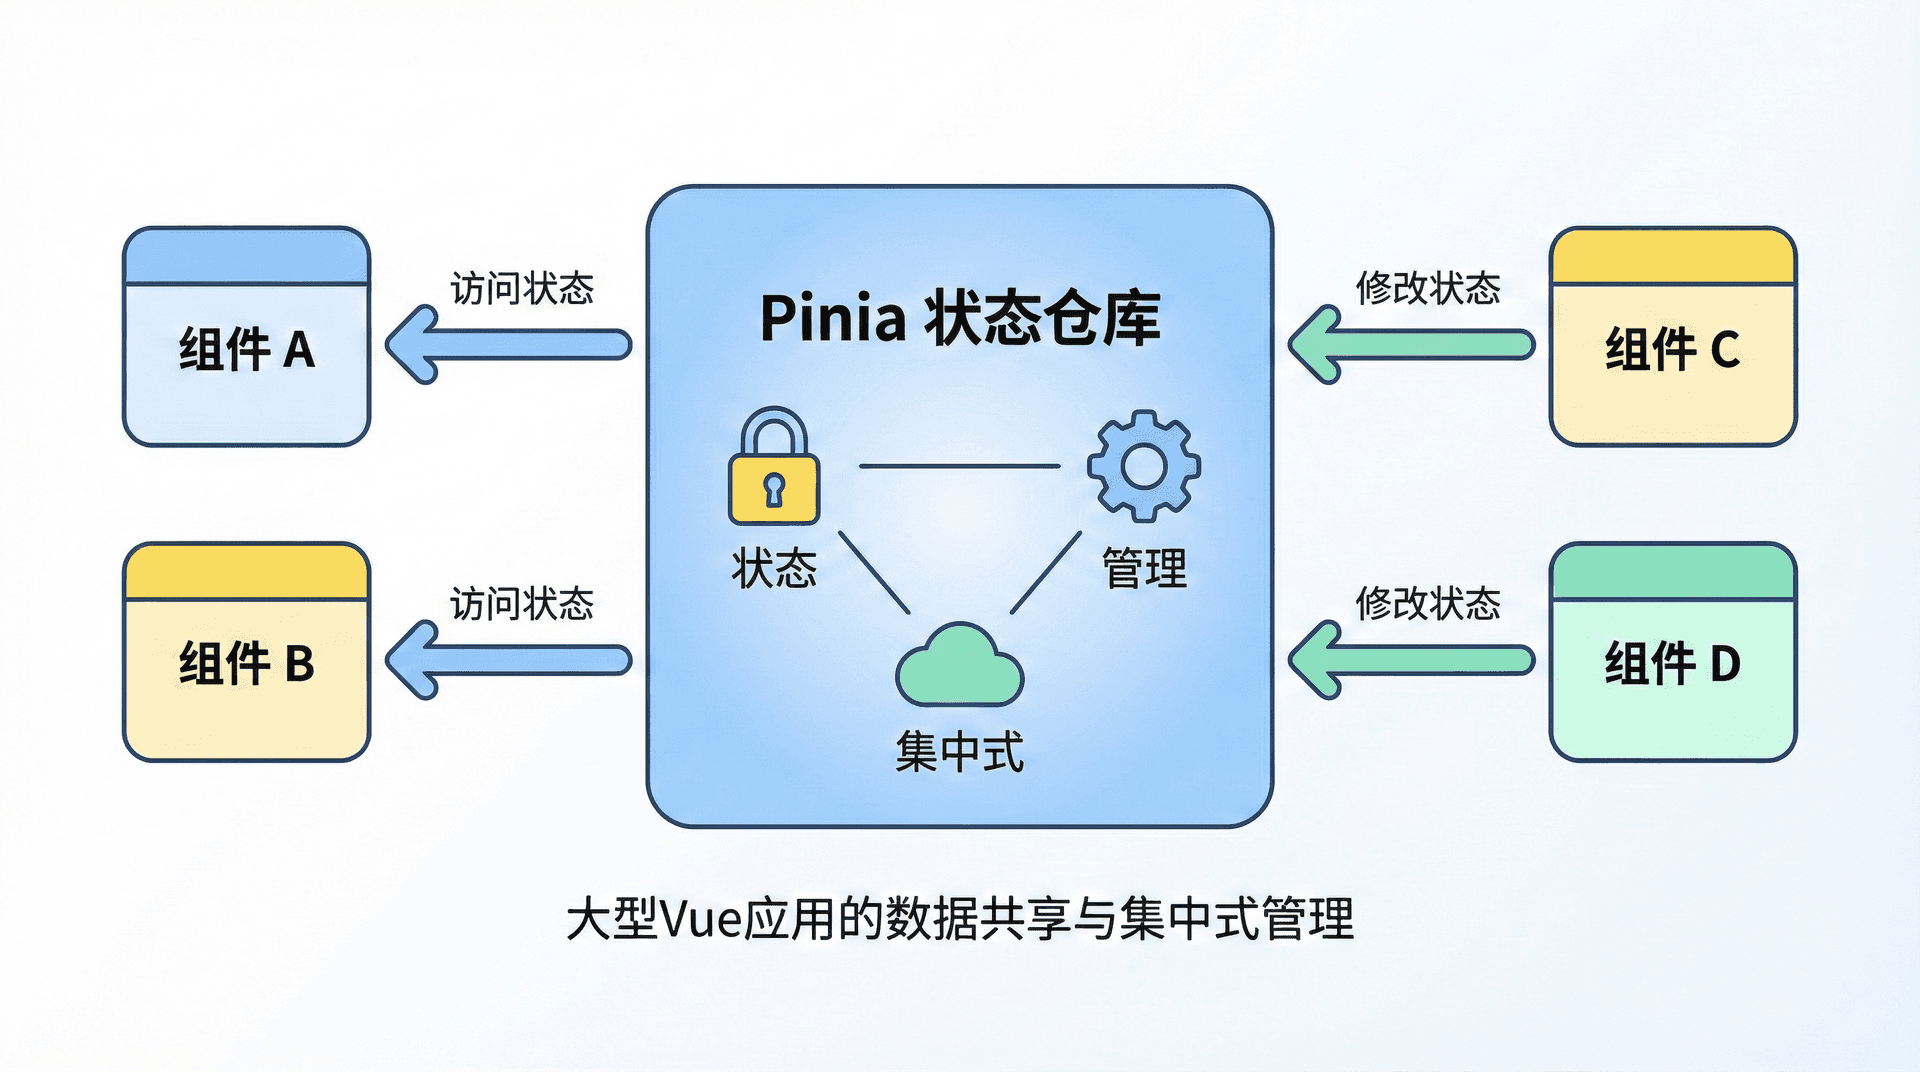
Pinia是Vue的官方状态管理库,它提供了集中式的状态管理方案。通过Pinia,我们可以在一个地方管理应用的状态,然后在任何组件中访问和修改这些状态。
为什么需要状态管理
假设我们的应用中存在一个用户信息(比如用户名和邮箱),而这个用户信息需要在多个组件中被访问和修改。比如,一个组件用来展示用户名,一个组件用来显示用户设置,另一个组件又用来展示用户在仪表盘中的个性化信息。 此时,单靠props传递数据很快就会变得繁琐,尤其是当组件层级变深或者存在跨组件通信需求时,维护起来既易混乱也容易出错。
下面我们先用最基础的方式,模拟这种「多个组件共享状态」的需求:
html
<div id="app">
  <user-profile></user-profile>
  <user-settings></user-settings>
  <user-dashboard></user-dashboard>
</div>

<script>
  const { createApp, ref, provide, inject } = Vue;

  const UserProfile = {
    setup() {
      const user = inject('user');
      return { user };
    },
    template: '<div>用户名:{{ user.name }}</div>'
  };

  const UserSettings = {
    setup() {
      const user = inject('user');
      return { user };
    },
    template: '<div>设置:{{ user.email }}</div>'
  };

  const UserDashboard = {
    setup() {
      const user = inject('user');
      return { user };
    },
    template: '<div>仪表盘:{{ user.name }}</div>'
  };

  const app = createApp({
    setup() {
      const user = ref({ name: '张三', email: 'zhangsan@example.com' });
      provide('user', user);

      return {};
    },
    components: {
      'user-profile': UserProfile,
      'user-settings': UserSettings,
      'user-dashboard': UserDashboard
    }
  });

  app.mount('#app');
</script>
虽然使用provide/inject可以工作,但在大型应用中,这种方式会变得复杂。Pinia提供了更好的解决方案。
什么是Pinia
Pinia是Vue的官方状态管理库,它是Vuex的继任者。Pinia提供了:
- 类型安全的状态管理
- 开发工具支持
- 模块化的Store
- 更好的TypeScript支持
在使用Pinia之前,我们需要先安装它。如果使用Vite等构建工具,可以通过npm安装:
bash
npm install pinia如果使用CDN,可以引入Pinia的CDN链接:
html
<script src="https://unpkg.com/pinia/dist/pinia.iife.js"></script>创建Store
在Pinia中,定义和使用Store主要依赖defineStore函数。Store可以理解为一个全局的数据容器,里面存储着响应式的状态(state)、业务逻辑(actions)以及计算属性(getters)。下面我们详细介绍如何创建一个最基础的计数器(counter)Store:
- 首先,从Pinia中导入
defineStore方法。 - 调用
defineStore时传入两个参数:第一个参数是Store的唯一名字(字符串类型),第二个参数是配置对象。 - 在配置对象中,通常包含三个部分:
state:一个返回初始状态对象的函数,所有响应式状态都定义在这里。actions:包含一些变更状态的方法(类似于methods)。getters:类似于计算属性,用于基于state派生出新的数据。
html
<div id="app">
  <counter-component></counter-component>
  <another-counter></another-counter>
</div>

<script>
  const { createApp } = Vue;
  const { createPinia, defineStore } = Pinia;

  // 定义Store
  const useCounterStore = defineStore('counter', {
    state: () => ({
      count: 0
    }),
    actions: {
      increment() {
        this.count++;
      },
      decrement() {
        this.count--;
      }
    },
    getters: {
      doubleCount() {
        return this.count * 2;
      }
    }
  });

  const CounterComponent = {
    setup() {
      const counterStore = useCounterStore();

      return {
        counterStore
      };
    },
    template: `
      <div>
        <p>计数:{{ counterStore.count }}</p>
        <p>双倍计数:{{ counterStore.doubleCount }}</p>
        <button @click="counterStore.increment">增加</button>
        <button @click="counterStore.decrement">减少</button>
      </div>
    `
  };

  const AnotherCounter = {
    setup() {
      const counterStore = useCounterStore();

      return {
        counterStore
      };
    },
    template: `
      <div>
        <p>另一个组件中的计数:{{ counterStore.count }}</p>
      </div>
    `
  };

  const app = createApp({});
  const pinia = createPinia();
  app.use(pinia);

  app.component('counter-component', CounterComponent);
  app.component('another-counter', AnotherCounter);

  app.mount('#app');
</script>在这个例子中,我们创建了一个counter Store,它有一个count状态、两个actions(increment和decrement)和一个getter(doubleCount)。两个组件都使用同一个Store,它们共享同一个count状态。
State
State(状态)是Store中用来保存和管理应用数据的地方。每个Store都可以拥有自己的state,这些数据通常是响应式的,可以在组件之间共享和同步。比如,你可以在state中定义用户信息、登录状态、主题设置、商品列表等需要在多个组件间共享的变量。 下面我们来看一个更复杂的state定义示例:
html
<script>
  const useUserStore = defineStore('user', {
    state: () => ({
      user: null,
      isLoggedIn: false
    }),
    actions: {
      login(user) {
        this.user = user;
        this.isLoggedIn = true;
      },
      logout() {
        this.user = null;
        this.isLoggedIn = false;
      }
    }
  });
</script>在这个例子中,我们定义了一个user Store,它有两个状态:user和isLoggedIn。
Actions
Actions(动作)是Store中定义的方法,专门用于封装和管理对state(状态)的同步或异步修改。Actions可以包含各种业务逻辑,比如调用API、处理异步请求、组合多个状态变更等。使用Actions可以让你把与状态修改相关的代码集中管理,使得代码更清晰、更易维护。
在Pinia中,Actions 与 Vue 组件的方法类似,通常通过this访问Store里的state或其他actions。下面我们来看一个具体的actions用法:
html
<script>
  const useTodoStore = defineStore('todo', {
    state: () => ({
      todos: []
    }),
    actions: {
      addTodo(text) {
        this.todos.push({
          id: Date.now(),
          text,
          completed: false
        });
      },
      removeTodo(id) {
        const index = this.todos.findIndex(todo => todo.id === id);
        if (index > -1) {
          this.todos.splice(index, 1);
        }
      },
      toggleTodo(id) {
        const todo = this.todos.find(todo => todo.id === id);
        if (todo) {
          todo.completed = !todo.completed;
        }
      }
    }
  });
</script>
Actions可以是同步的,也可以是异步的:
html
<script>
  const useUserStore = defineStore('user', {
    state: () => ({
      user: null,
      loading: false
    }),
    actions: {
      async fetchUser(userId) {
        this.loading = true;
        try {
          // 模拟API请求
          await new Promise(resolve => setTimeout(resolve, 1000));
          this.user = {
            id: userId,
            name: '张三',
            email: 'zhangsan@example.com'
          };
        } finally {
          this.loading = false;
        }
      }
    }
  });
</script>
Getters
Getters 是 Store(仓库)中的计算属性,类似于组件中的 computed,用来基于 state 内的数据进行复杂的逻辑处理或派生出新的数据。 Getters 的主要作用是根据现有的 state 数据计算出一些需要经常用到的、但不方便直接存储在 state 中的值。这样可以保持 state 的简洁,并复用这些计算结果。
例如,如果需要计算 todos 列表中的已完成任务数、未完成任务数、或者总任务数,就可以通过 getters 实现。每当相关的 state(如 todos 列表)变化时,getters 会自动重新计算,保证得到的是最新的结果。
html
<script>
  const useTodoStore = defineStore('todo', {
    state: () => ({
      todos: []
    }),
    getters: {
      totalTodos() {
        return this.todos.length;
      },
      completedTodos() {
        return this.todos.filter(todo => todo.completed).length;
      },
      activeTodos() {
        return this.todos.filter(todo => !todo.completed).length;
      }
    },
    actions: {
      addTodo(text) {
        this.todos.push({
          id: Date.now(),
          text,
          completed: false
        });
      }
    }
  });
</script>
Getters可以接收参数:
html
<script>
  const useTodoStore = defineStore('todo', {
    state: () => ({
      todos: []
    }),
    getters: {
      getTodoById: (state) => {
        return (id) => {
          return state.todos.find(todo => todo.id === id);
        };
      }
    }
  });
</script>
在组件中使用Store
在 Vue 组件中使用 Pinia 的 Store 时,首先需要通过调用定义好的 useStore(如 useTodoStore)函数来获取该 Store 的实例。这个实例就包含了 state、getters 和 actions,可以直接在组件的 setup() 函数中使用。
例如,在 setup() 函数内部,通过调用 const todoStore = useTodoStore(),你就能访问和操作这个 store:
- 读取 state:
todoStore.todos - 调用 getter:
todoStore.totalTodos - 执行 action:
todoStore.addTodo('任务内容')
这样,所有与 Store 相关的操作都可以通过 todoStore 实例完成,实现组件和状态管理的解耦。
html
<div id="app">
  <todo-manager></todo-manager>
</div>

<script>
  const { createApp, ref } = Vue;
  const { createPinia, defineStore } = Pinia;

  const useTodoStore = defineStore('todo', {
    state: () => ({
      todos: []
    }),
    getters: {
      totalTodos() {
        return this.todos.length;
      }
    },
    actions: {
      addTodo(text) {
        this.todos.push({
          id: Date.now(),
          text,
          completed: false
        });
      },
      removeTodo(id) {
        const index = this.todos.findIndex(todo => todo.id === id);
        if (index > -1) {
          this.todos.splice(index, 1);
        }
      }
    }
  });

  const TodoManager = {
    setup() {
      const todoStore = useTodoStore();
      const newTodo = ref('');

      const handleAdd = () => {
        if (newTodo.value.trim()) {
          todoStore.addTodo(newTodo.value);
          newTodo.value = '';
        }
      };

      return {
        todoStore,
        newTodo,
        handleAdd
      };
    },
    template: `
      <div>
        <h2>待办事项</h2>
        <form @submit.prevent="handleAdd">
          <input v-model="newTodo" placeholder="输入待办事项">
          <button type="submit">添加</button>
        </form>
        <ul>
          <li v-for="todo in todoStore.todos" :key="todo.id">
            {{ todo.text }}
            <button @click="todoStore.removeTodo(todo.id)">删除</button>
          </li>
        </ul>
        <p>总计:{{ todoStore.totalTodos }} 项</p>
      </div>
    `
  };

  const app = createApp({});
  const pinia = createPinia();
  app.use(pinia);

  app.component('todo-manager', TodoManager);

  app.mount('#app');
</script>
组合式API风格
Pinia 还支持通过组合式 API(Composition API)来定义 Store,这种方式不同于传统的 Options API,可以让我们更加灵活、细粒度地组织状态和逻辑。
具体来说,就是使用 defineStore 并传入一个 setup 函数,然后在函数内用 ref 和 computed 来定义你的 state、getter,以及以函数方式声明 action。这种写法非常适合偏爱并熟悉组合式 API 的开发者,因为它能够带来更强的逻辑复用性和类型推导能力。例如:
html
<script>
  const useCounterStore = defineStore('counter', () => {
    const count = ref(0);

    function increment() {
      count.value++;
    }

    function decrement() {
      count.value--;
    }

    const doubleCount = computed(() => count.value * 2);

    return {
      count,
      increment,
      decrement,
      doubleCount
    };
  });
</script>
综合示例
接下来,我们将通过一个详细的综合示例来帮助大家更好地理解 Pinia 的用法。我们将一步步实现一个简单的购物车应用,利用 Pinia 来集中管理商品、购物车条目、总价等相关状态。 你将看到如何在实际项目中组织 store,如何定义 state、getter 以及 action,并了解它们之间是如何协作完成完整功能的:
html
<div id="app">
  <product-list></product-list>
  <shopping-cart></shopping-cart>
</div>

<script>
  const { createApp } = Vue;
  const { createPinia, defineStore } = Pinia;

  const useCartStore = defineStore('cart', {
    state: () => ({
      items: []
    }),
    getters: {
      totalItems() {
        return this.items.reduce((sum, item) => sum + item.quantity, 0);
      },
      totalPrice() {
        return this.items.reduce((sum, item) => sum + item.price * item.quantity, 0);
      }
    },
    actions: {
      addItem(product) {
        const existingItem = this.items.find(item => item.id === product.id);
        if (existingItem) {
          existingItem.quantity++;
        } else {
          this.items.push({
            ...product,
            quantity: 1
          });
        }
      },
      removeItem(id) {
        const index = this.items.findIndex(item => item.id === id);
        if (index > -1) {
          this.items.splice(index, 1);
        }
      },
      updateQuantity(id, quantity) {
        const item = this.items.find(item => item.id === id);
        if (item) {
          item.quantity = quantity;
        }
      }
    }
  });

  const ProductList = {
    setup() {
      const cartStore = useCartStore();
      const products = [
        { id: 1, name: '商品1', price: 100 },
        { id: 2, name: '商品2', price: 200 },
        { id: 3, name: '商品3', price: 300 }
      ];

      return {
        cartStore,
        products
      };
    },
    template: `
      <div>
        <h2>商品列表</h2>
        <ul>
          <li v-for="product in products" :key="product.id">
            {{ product.name }} - ¥{{ product.price }}
            <button @click="cartStore.addItem(product)">加入购物车</button>
          </li>
        </ul>
      </div>
    `
  };

  const ShoppingCart = {
    setup() {
      const cartStore = useCartStore();

      return {
        cartStore
      };
    },
    template: `
      <div>
        <h2>购物车</h2>
        <ul>
          <li v-for="item in cartStore.items" :key="item.id">
            {{ item.name }} × {{ item.quantity }} = ¥{{ item.price * item.quantity }}
            <button @click="cartStore.removeItem(item.id)">删除</button>
          </li>
        </ul>
        <p>总计:{{ cartStore.totalItems }} 件,¥{{ cartStore.totalPrice }}</p>
      </div>
    `
  };

  const app = createApp({});
  const pinia = createPinia();
  app.use(pinia);

  app.component('product-list', ProductList);
  app.component('shopping-cart', ShoppingCart);

  app.mount('#app');
</script>在这个例子中,我们创建了一个购物车Store,它管理购物车中的商品。ProductList组件可以向购物车添加商品,ShoppingCart组件显示购物车的内容和总计。
在实际项目中,Pinia通常与Vite等构建工具一起使用。使用构建工具可以更好地组织代码,支持TypeScript,提供更好的开发体验。
下一步
在这一部分,我们简单学习了Pinia的基本用法。我们了解了如何创建Store、定义State、Actions和Getters,以及如何在组件中使用Store。 Pinia是Vue应用状态管理的强大工具。掌握它后,你就能更好地管理应用中的全局状态,构建出更加复杂和可维护的应用。
在下一个部分,我们将学习Vite,了解如何使用Vite来构建Vue应用。这将帮助我们搭建更加现代化的开发环境。